
Soaring Series · Print files · RL-MDL-GLD-FILES
Soaring Series glider: print files
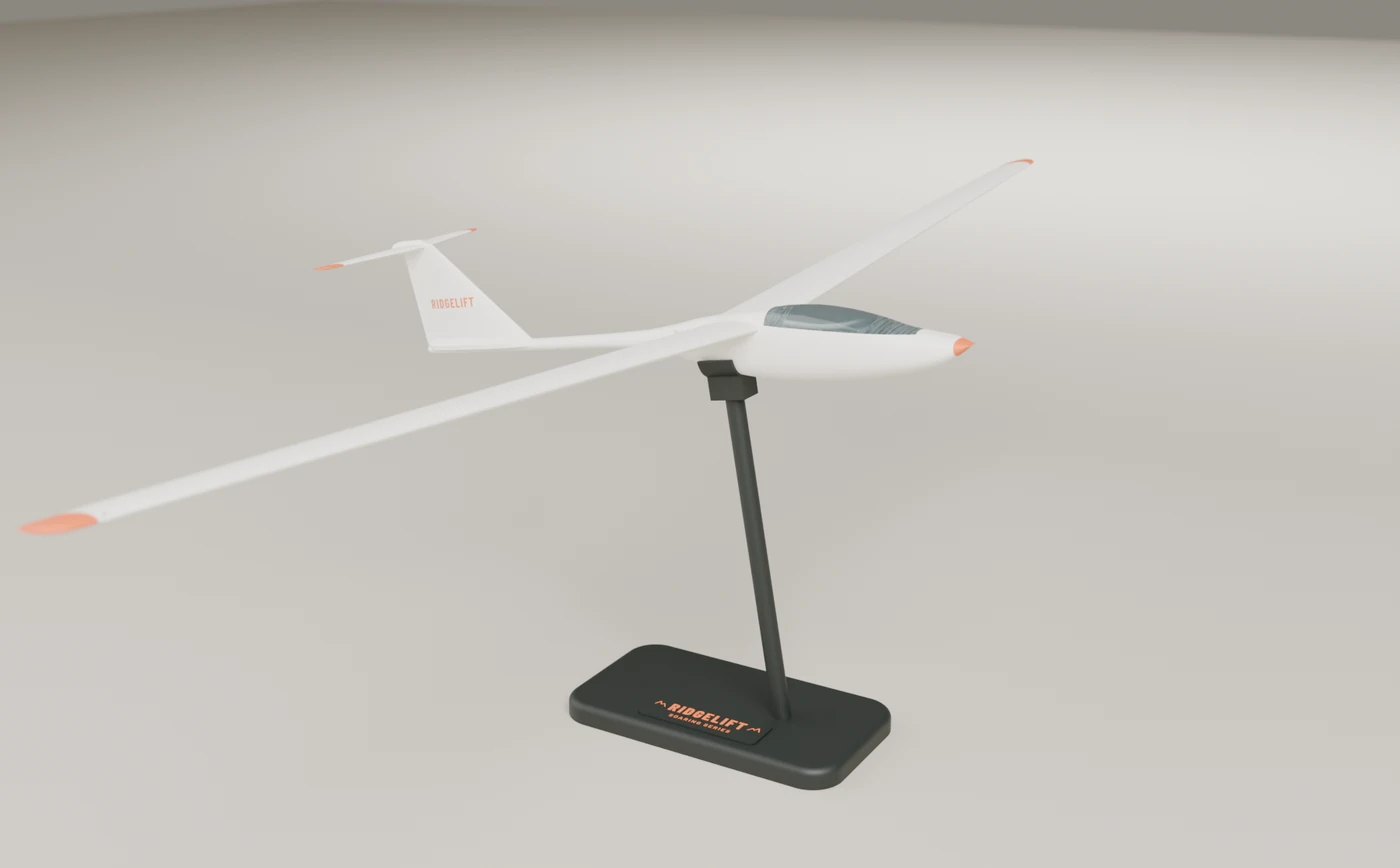
The digital pack for a 1,002 mm span desk and wall display sailplane with battery-powered navigation lights. You print the 19 part designs on a desktop printer. No supports are needed. This is a scale display model, not a flying model and not flight hardware.
Digital download, $0 shipping, when this goes on sale.
This is a scale display model for a desk or a wall. It is not a flying model, not a radio-control airplane, and not flight hardware. Do not install any part of it in an aircraft. The design is original; it is not a copy of a production sailplane. Renders are drawings, not photographs of a finished kit. No part has been printed as a first article yet, and the light board has not yet been fabricated. Print times come from a slicer profile. Prices are starting points and may change; not a live offer yet.
The three offers
Same airframe, three ways to get it. Prices are starting points. Nothing here is in the shop checkout yet.
Renders
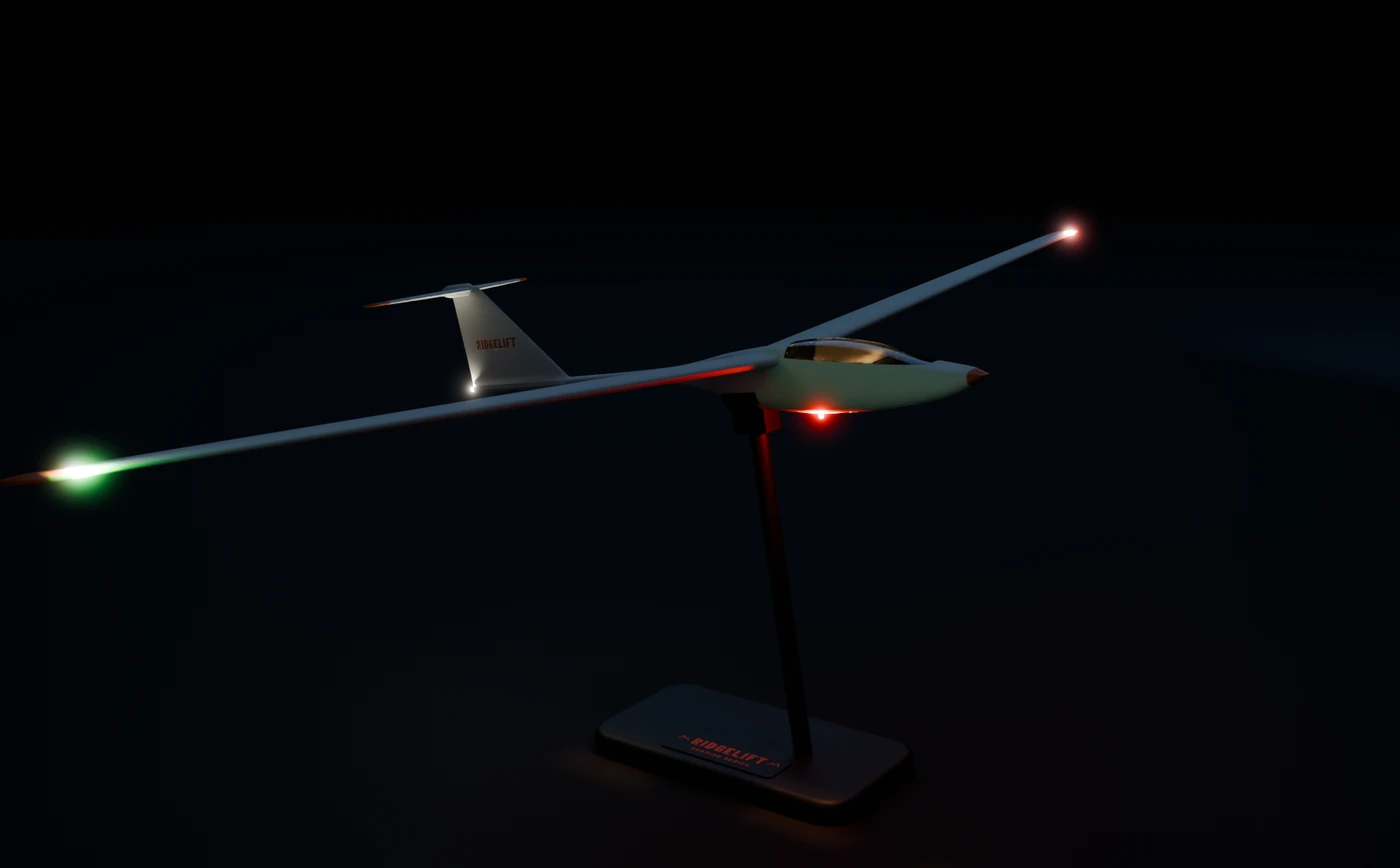
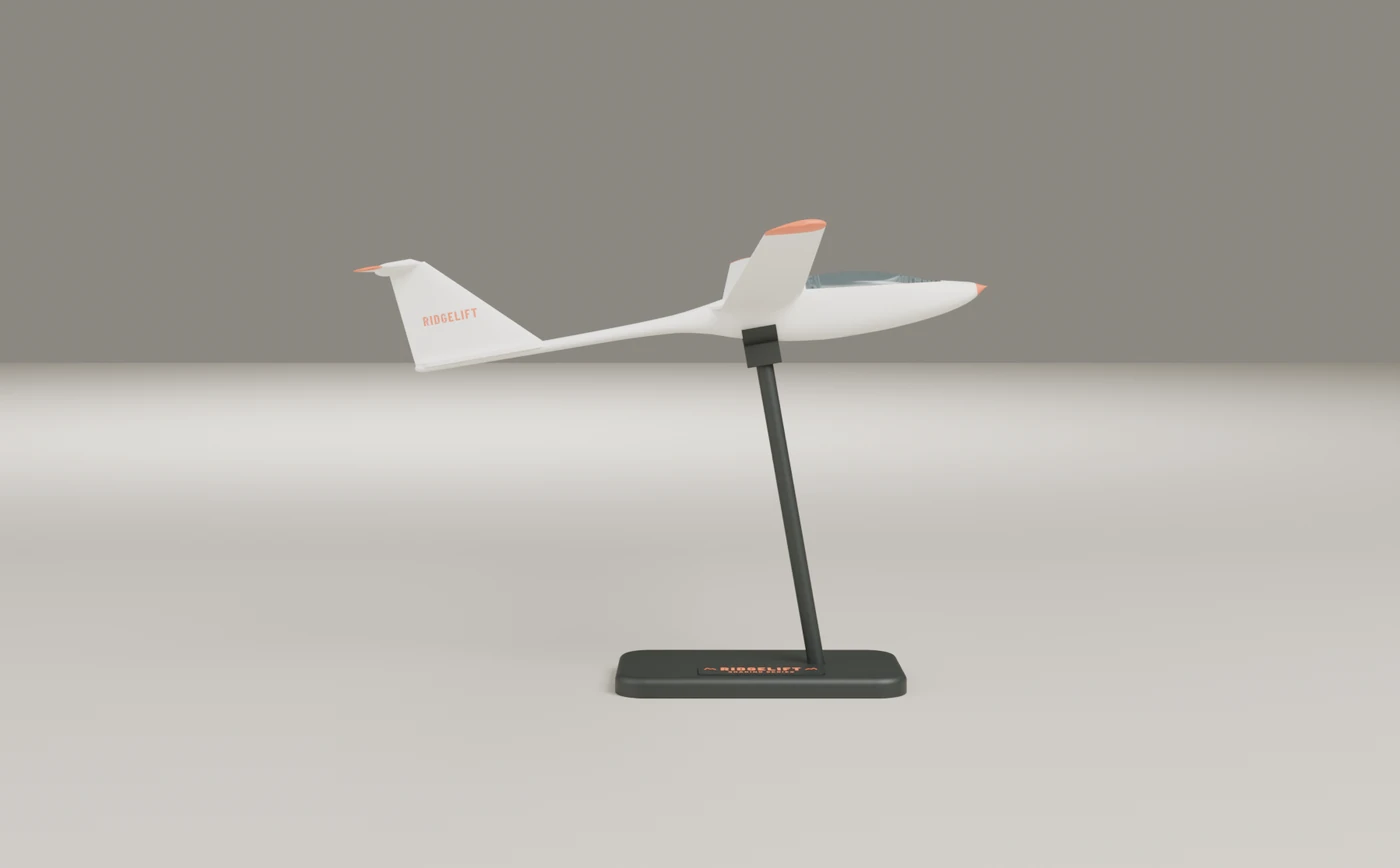
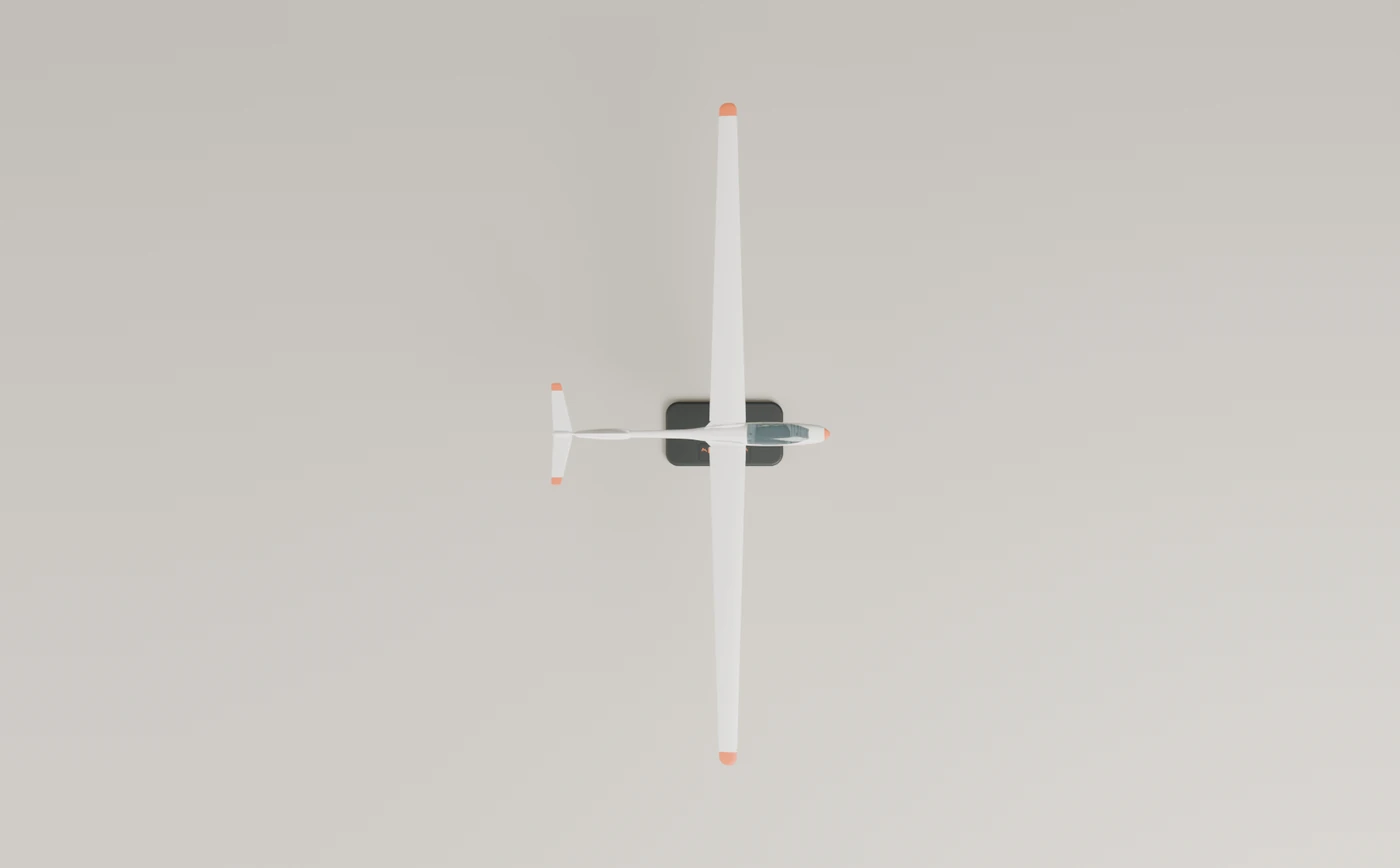
Drawn from the same parts you would print. These are not photographs of a finished kit.
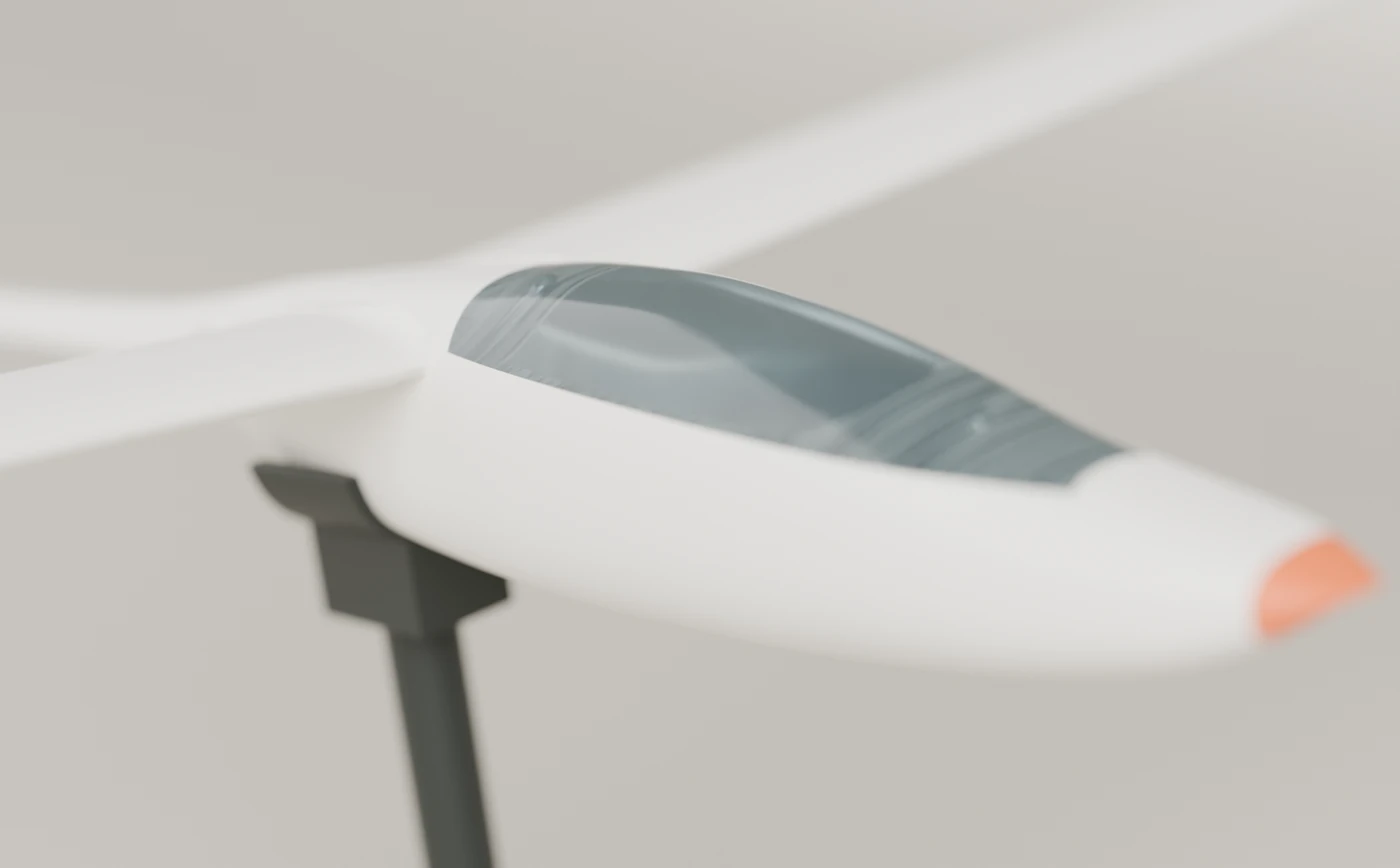
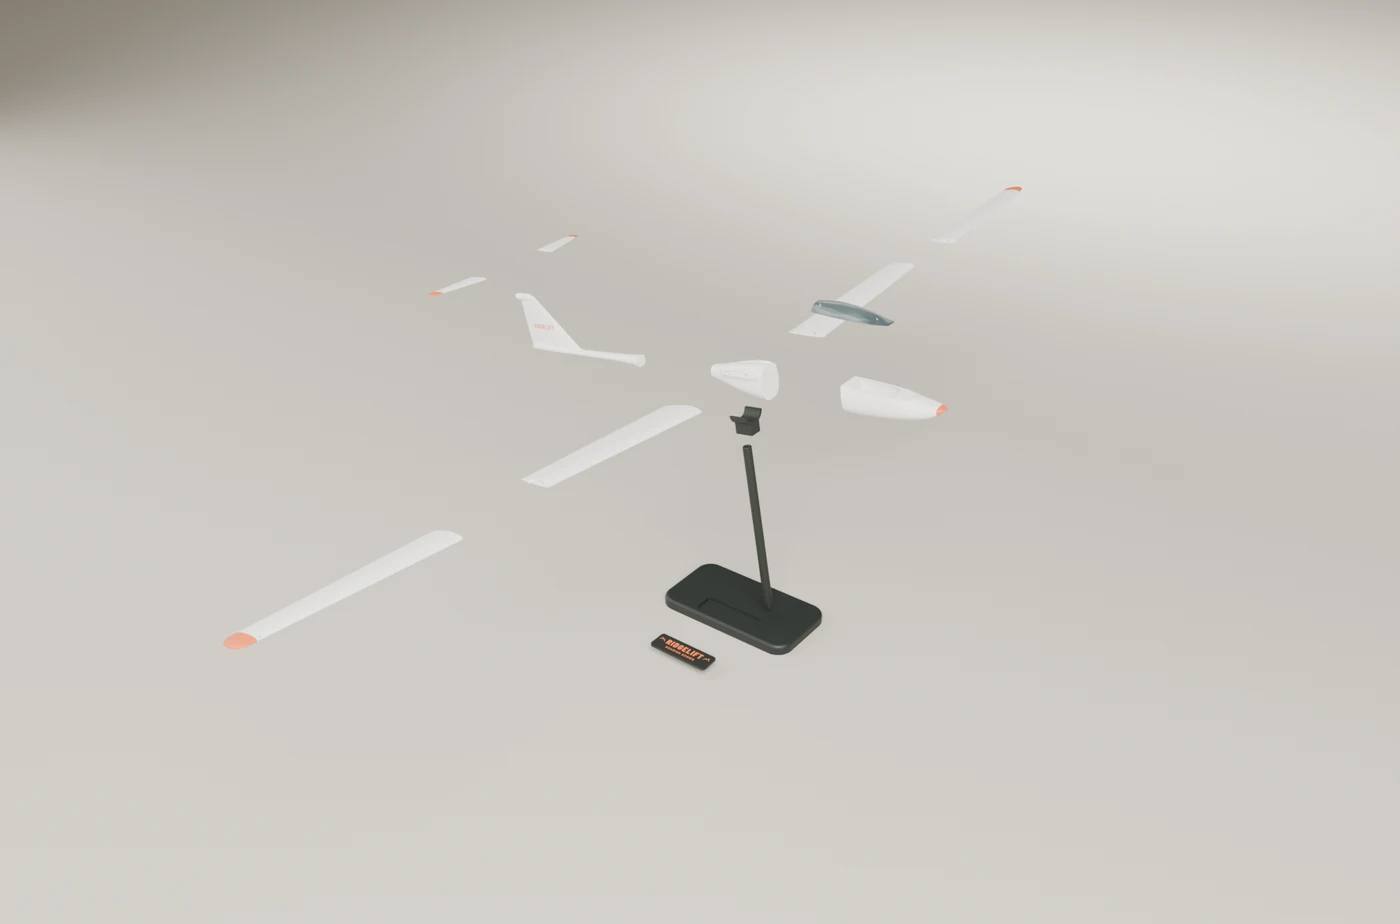
What this offer includes
When it goes on sale, this is what the print files is meant to cover.
- STL files for all 19 parts, in print orientation.
- Colour-ready 3MF files for a two-nozzle printer (bone and orange are already assigned).
- Print settings and an assembly guide.
- Wiring diagram, the KiCad project for the RL-GLB light board, fabrication outputs, and the ATtiny402 firmware.
Filament, carbon tubes and rods, magnets, a 1S 500 mAh LiPo, LEDs, and either a finished light board or the parts to build one. A printed-parts kit and an assembled model are coming as separate offers.
Specifications
Taken from the design files. Reference only, not for construction of a flying aircraft.
- Wingspan
- 1,002 mm (39.4 in)
- Length
- 416 mm (16.4 in)
- Wing
- Root chord 56 mm, tip chord 27 mm, 4 deg dihedral, nearly straight leading edge, tapered trailing edge, rounded tips
- Mass, ready to display
- About 364 g, including hardware and electronics
- Balance
- 161.4 mm behind the nose tip. The stand socket is placed there.
- Printed parts
- 19 designs. 14 in the standard kit (glider and stand). Five more for the clear-canopy and ceiling-hang options.
- Filament, standard kit
- 485 g (462 g PLA, 23 g PETG)
- Print time, standard kit
- About 22 hours 3 minutes on an H2D-class printer with 0.4 mm nozzles
- Lights
- Red and green nav, white double-flash strobes, white tail light, red belly beacon, warm cockpit glow
- Battery
- 1S LiPo, 500 mAh, USB-C charging on the belly, about 10 to 14 hours in Display mode (estimated)
Print notes
Every part prints with no supports. Holes are teardrop-shaped or cone-topped on purpose. Layer height is 0.12 to 0.20 mm, three or four walls, and 10 to 30 percent infill, as listed for each part.
Times and weights come from PrusaSlicer 2.9 with a profile that approximates a Bambu Lab H2D (0.4 mm nozzles, textured PEI plate). Bambu Studio or another slicer will differ by roughly 10 to 20 percent. Colour-swap purge is not included. No part has been printed as a first article yet.
The wing and stabiliser halves stand tall on a small footprint: keep the brim, print them one at a time or spaced well apart, and keep part cooling moderate (about 60 to 80 percent). The tallest parts stand about 244 mm, and the stand base is 200 by 110 mm, so you need roughly 250 mm of build height and a bed that can take a 200 mm part.
The colour-ready 3MF files already assign bone to one nozzle and orange to the other, with a colour change on the outer wings at 222 mm (the tip). On a single-nozzle printer, use that height or print everything in bone and paint or decal the tips. The canopy prints solid, 100 percent infill, in translucent smoke PETG so it reads as tinted glass. For a see-through canopy, use the vac-form option over the buck (RLG-15).
| Ref | File | Part | Material | Qty | Time | Filament |
|---|---|---|---|---|---|---|
| W1L | RLG-01 | Wing inner, left | PLA bone | 1 | 2 h 48 min | 62.6 g |
| W1R | RLG-02 | Wing inner, right | PLA bone | 1 | 2 h 46 min | 62.5 g |
| W2L | RLG-03 | Wing outer, left | PLA bone, orange tip | 1 | 2 h 20 min | 39.8 g |
| W2R | RLG-04 | Wing outer, right | PLA bone, orange tip | 1 | 2 h 20 min | 39.7 g |
| SL | RLG-05 | Stabiliser, left | PLA bone, orange tip | 1 | 43 min | 4.6 g |
| SR | RLG-06 | Stabiliser, right | PLA bone, orange tip | 1 | 43 min | 4.6 g |
| F1 | RLG-07 | Fuselage nose pod | PLA bone, orange nose cap | 1 | 1 h 14 min | 32.5 g |
| F2 | RLG-08 | Fuselage wing centre | PLA bone | 1 | 1 h 25 min | 31.0 g |
| F3 | RLG-09 | Fuselage boom and fin | PLA bone, orange fin lettering | 1 | 2 h 00 min | 33.9 g |
| CAN | RLG-10 | Canopy, solid tinted | PETG translucent smoke | 1 | 41 min | 23.3 g |
| STB | RLG-11 | Stand base | PLA basalt, matte | 1 | 3 h 00 min | 106.2 g |
| STP | RLG-12 | Stand post | PLA basalt | 1 | 1 h 28 min | 29.6 g |
| STS | RLG-13 | Stand saddle | PLA basalt | 1 | 19 min | 8.4 g |
| STQ | RLG-14 | Stand plaque | PLA basalt, orange lettering | 1 | 17 min | 6.0 g |
| Ref | File | Part | Material | Qty | Time | Filament |
|---|---|---|---|---|---|---|
| BUCK | RLG-15 | Canopy vacuum buck | PETG or ASA | 1 | 53 min | 20.5 g |
| DECK | RLG-16 | Cockpit deck | PLA basalt | 1 | 18 min | 6.0 g |
| HC | RLG-17 | Hang wing clip | PETG basalt | 2 | 5 min each | 2.2 g each |
| HP | RLG-18 | Hang ceiling plate | PLA bone | 1 | 11 min | 5.4 g |
| HA | RLG-19 | Hang line adjuster | PLA bone | 2 | 2 min each | 0.6 g each |
Parts list
The standard kit is the glider, the desk stand, and the lights. Option parts are sold separately when those add-ons go on sale.
| Item | Spec | Qty |
|---|---|---|
| Carbon tube, inner spar | 4.0 x 3.0 mm pultruded, cut 258 mm | 2 |
| Carbon tube, outer spar | 3.0 x 2.0 mm pultruded, cut 230 mm, slides 40 mm into the inner tube | 2 |
| Carbon rod, wing root pins | 2.0 mm, cut 19 mm | 2 |
| Carbon rod, joint 1 (nose to wing centre) | 3.0 mm, cut 15 mm | 2 |
| Carbon rod, joint 2 (wing centre to boom) | 2.0 mm, cut 11.5 mm | 2 |
| Carbon rod, stabiliser | 1.5 mm, cut 37 mm, passes through the fin bullet | 2 |
| Carbon rod, stand | 4.0 mm, cut 252 mm | 1 |
| Neodymium magnets | 3 x 1.5 mm N52 discs, canopy retention | 4 |
| LiPo cell | 1S 3.7 V 500 mAh, with a protection board and a JST-PH 2.0 lead | 1 |
| Light board RL-GLB | Assembled 44 x 16 mm board, firmware loaded | 1 |
| Pre-wired micro LEDs | 0603 with fine leads: 1 red, 1 green, 3 white, 1 warm white | 6 |
| Magnet wire | 0.15 mm enamelled, three colours, about 4 m | 1 lot |
| Light pipe | 1.5 mm clear fibre, 15 mm, for the charge indicator | 1 |
| Rubber feet | 8 mm self-adhesive, for the stand | 4 |
Control and lighting circuit
The RL-GLB light board and its firmware run the model's lights. This is display lighting only. It is not a flight controller and not aircraft hardware.
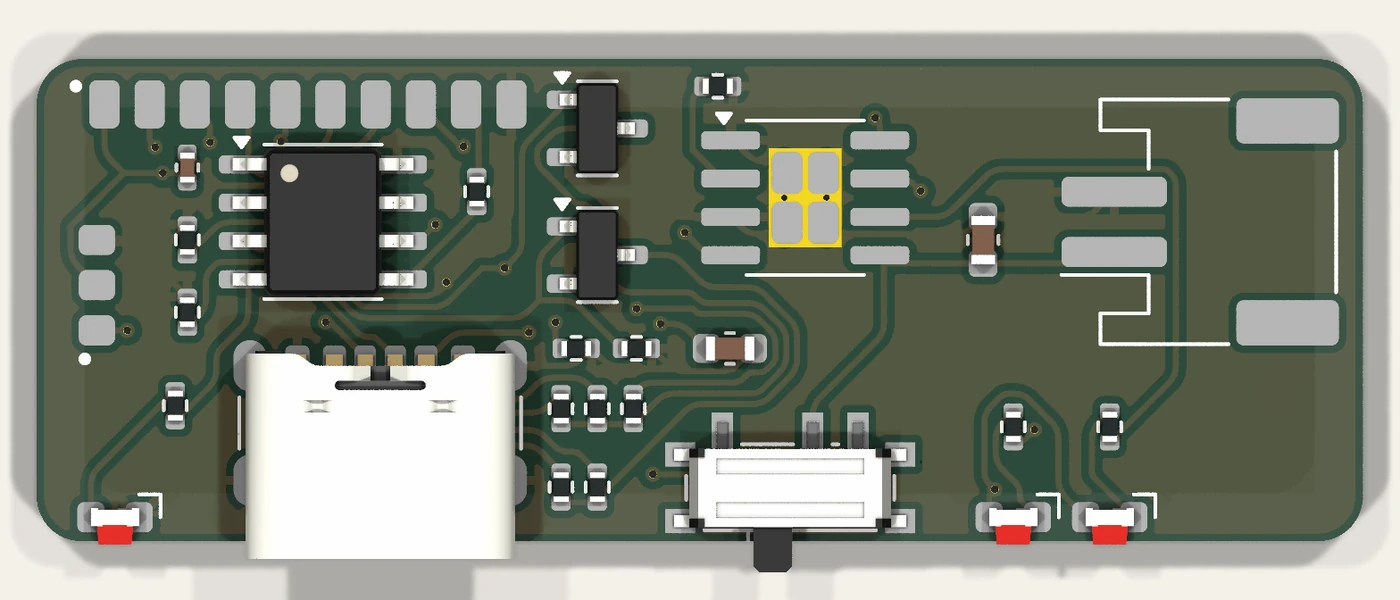
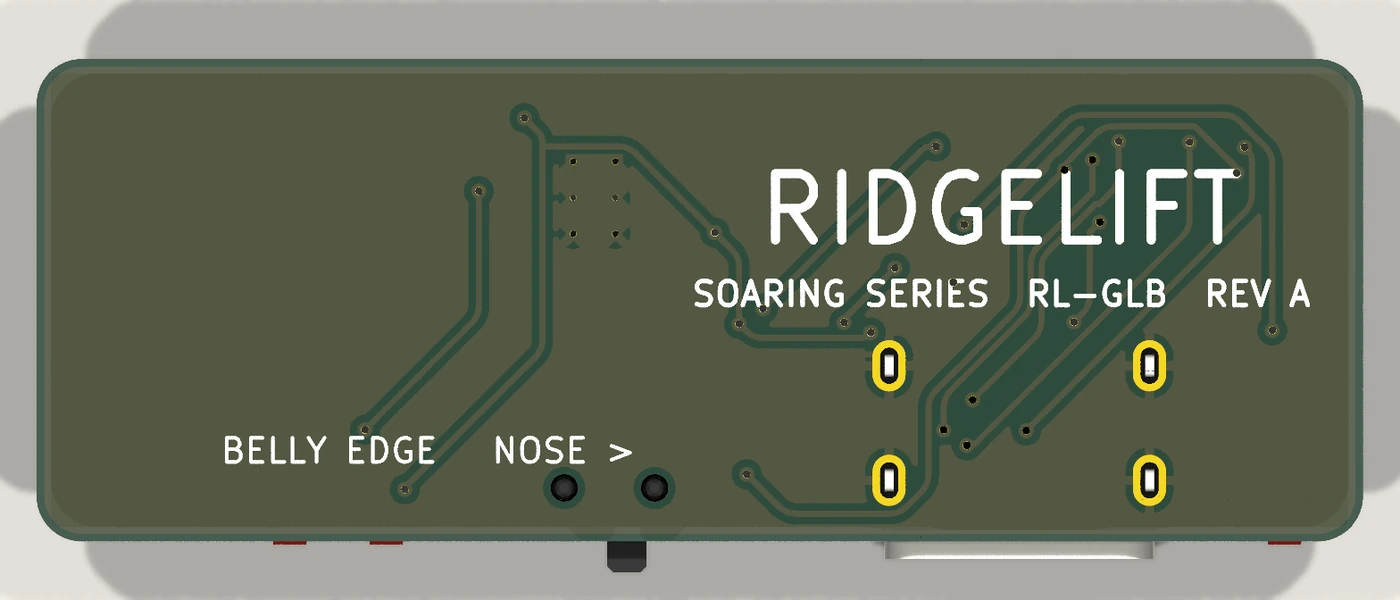
Board and firmware
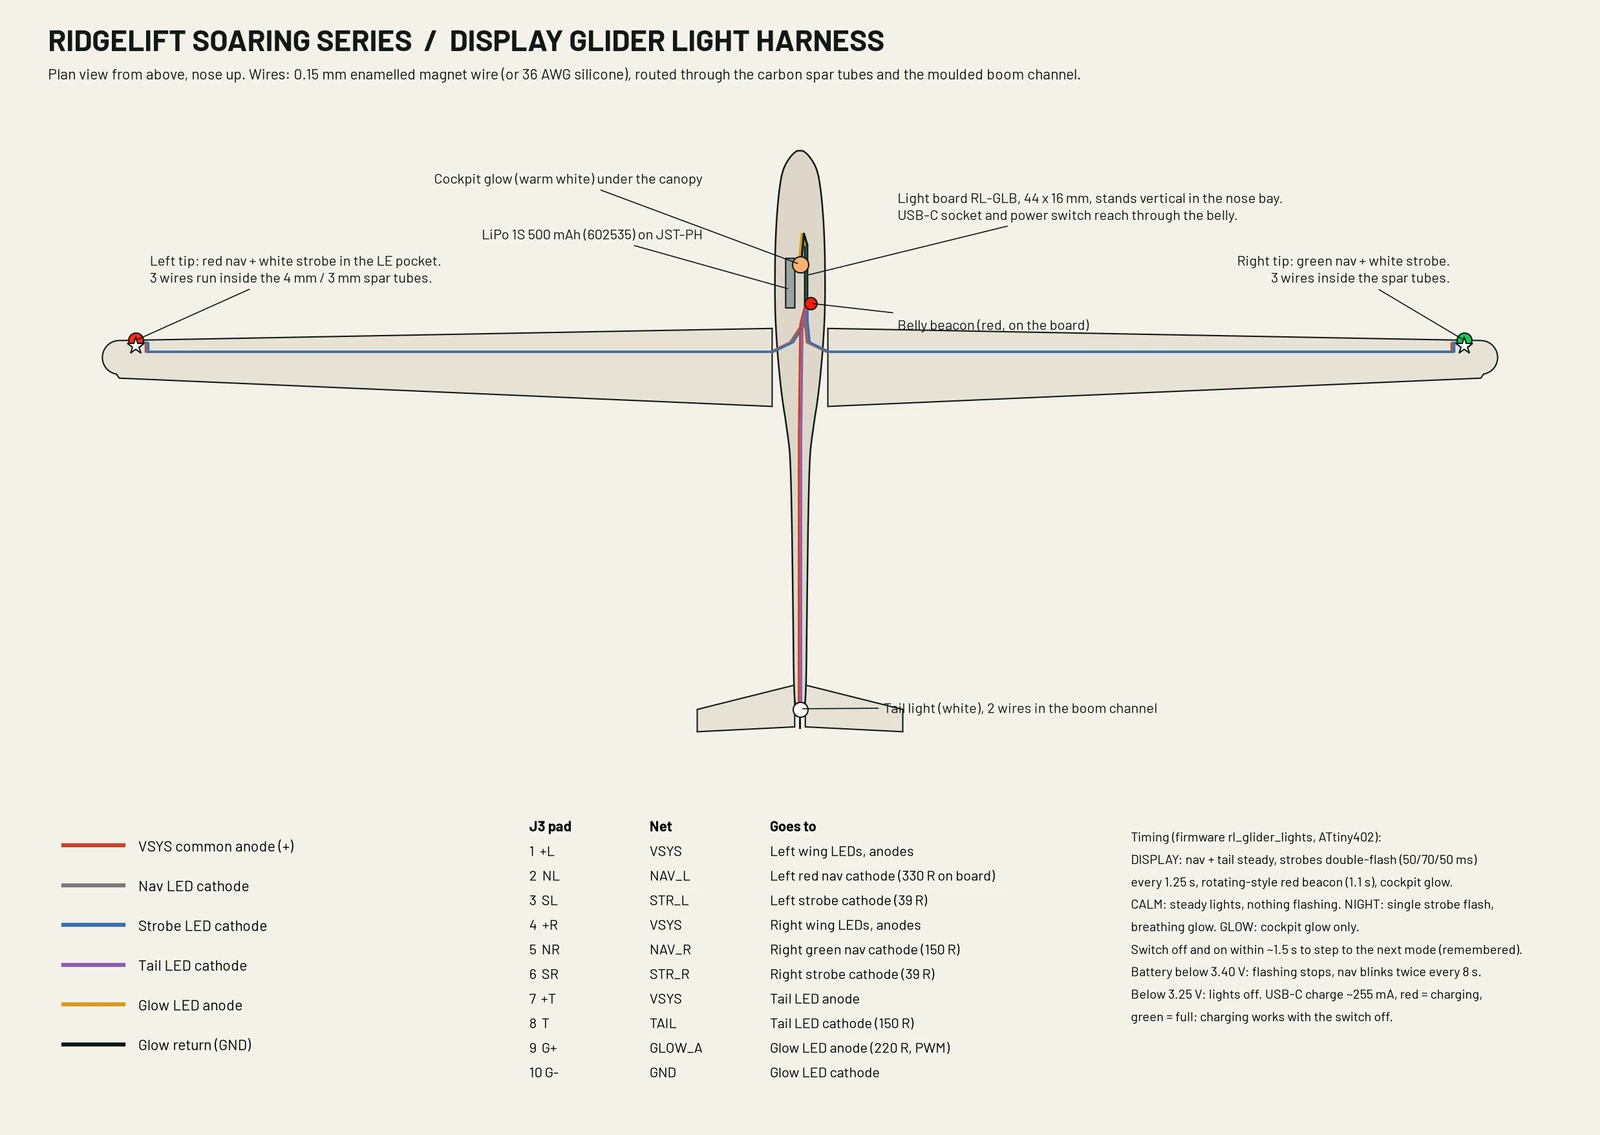
USB-C (power only, with CC sink resistors) feeds a TP4056 charger at about 255 mA, then a 1S LiPo on a JST-PH connector. A hidden belly slide switch feeds the rest of the board. An ATtiny402 drives two low-side switches for the nav-and-tail group and the wingtip strobes, plus PWM for the on-board red belly beacon and the warm cockpit glow. Charge LEDs sit at the belly edge under a short light pipe.
The firmware has four modes, stored in memory: Display (steady position lights, double-flash strobes, a rotating-style beacon, and cockpit glow), Calm (position lights and glow, nothing flashing), Night (everything on, a slow breathing glow, and a single strobe flash), and Glow (cockpit only). Switch off and on again within about 1.5 seconds to step the mode. Every four seconds the chip measures the cell. Below 3.40 V the flashers stop and the position lights blink twice every eight seconds. Below 3.25 V the board shuts down until you cycle the switch. Build it with avr-gcc for the ATtiny402 and load it over the UPDI pads.
The schematic and layout are a KiCad 9 project. The board has not been sent for fabrication, so the first article should be checked against the printed belly slots and the LED brightness of the parts you actually buy. Firmware and the KiCad files are part of the print-files pack when that offer goes on sale.
Downloads
The wiring diagram and the board schematic are up now, as a preview. The rest of the pack comes with the offer when it goes on sale.
- Wiring diagram (PDF)A preview of the harness diagram, available now.Download
- Light-board schematic (PDF)A preview of the RL-GLB schematic, available now.Download
- STL and 3MF files for all 19 partsComing soon, with the offer.Coming soon
- Print settings table and assembly guideComing soon, with the offer.Coming soon
- KiCad project, gerbers, and ATtiny402 firmware (.hex and source)Coming soon, with the offer.Coming soon
Questions and answers
Can I fly this?
No. This is a scale display model for a desk or a wall. It is not a flying model, not a radio-control airplane, and not flight hardware. Do not install any part of it in an aircraft.
When can I buy one?
Not yet. The prices on these pages are starting points and may change. These products are not in the shop checkout. Join the waitlist and we will write when they go on sale.
What is the difference between the three offers?
Print files are the digital pack you print yourself, at $24. The printed kit is the parts, spars, magnets, a programmed light board, battery, and stand, at $129, for about two hours of assembly. The assembled model is built and the lights are tested, at $249.
What printer do I need?
Every part is designed to print with no supports. The standard kit uses about 485 g of filament (462 g PLA and 23 g PETG) and takes about 22 hours 3 minutes on an H2D-class machine with 0.4 mm nozzles. The wing panels stand about 244 mm tall on the bed, and the stand base is 200 by 110 mm, so you need roughly 250 mm of build height and a bed that can take a 200 mm part. Times come from a PrusaSlicer profile that approximates a Bambu Lab H2D; your slicer may differ by 10 to 20 percent. Nothing here has been printed as a first article yet.
What do the lights do?
The RL-GLB board is a 44 by 16 mm two-layer board with a USB-C charge port, a 1S LiPo connector, a hidden belly switch, and an ATtiny402 that runs the lights. It drives red and green nav lights, white wingtip strobes, a white tail light, a red belly beacon, and a warm cockpit glow. Four modes are stored in memory: Display, Calm, Night, and Glow. A low battery stops the flashers, then shuts the board down. Firmware and the KiCad project ship with the print files.
How do I change light modes?
There is no button on the model. The belly slide switch is the only control. Switch off and on again within about 1.5 seconds to step to the next mode. The last mode is remembered.
Are the prices final?
No. They are starting prices and may change. They do not include card fees, shipping, or marketplace commissions, and the cost of goods is an estimate from late-2026 supplier list prices, not a quote.
Can I hang it from the ceiling?
A hang kit with wing clips, a ceiling plate, line adjusters, and line is coming as a $12 add-on. A vac-formed clear canopy and cockpit deck are coming at $19. Neither add-on is for sale yet.
Get word when the models go on sale.
Join the waitlist for the Soaring Series print files, printed kit, and assembled model. No payment and no deposit.